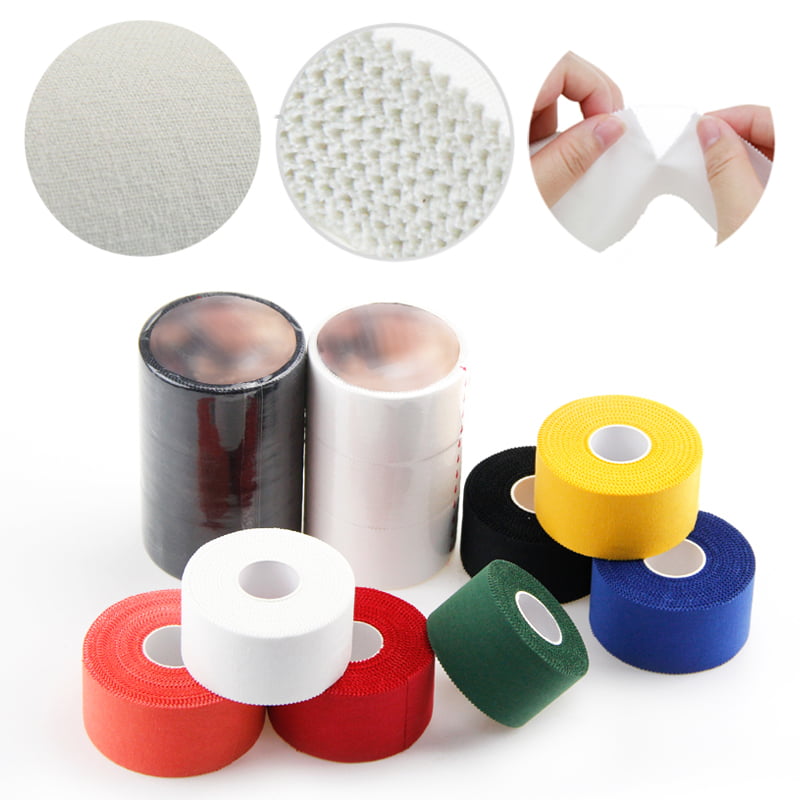
White tape for sports, also known as white athletic sports tape, white sports tape, or white soccer wrist tape, is an important instrument for preventing injuries and supporting joints. But understanding which tape to use and how to put it on right can mean the difference between good protection and a tape job that breaks apart in the middle of the game.
What kinds of white sports tape are there for sports?
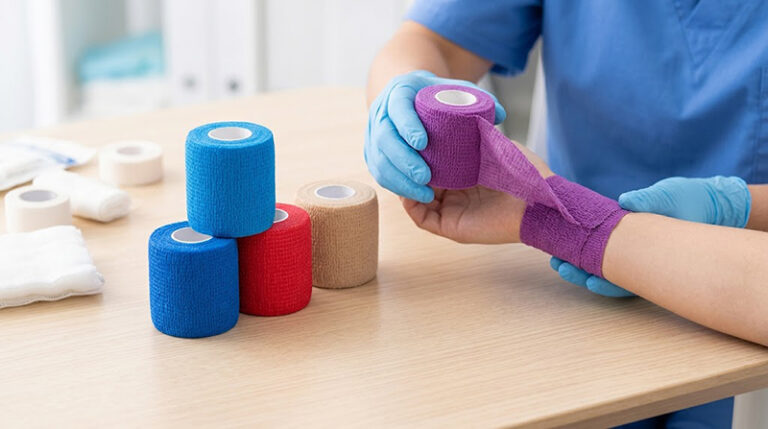
White tape for sports
This is the white athletic tape that people use on their wrists and ankles. It is made of cotton and has a zinc oxide adhesive that doesn’t stretch much and is meant to keep you from moving. Think of it as your mechanical support system; it keeps your wounded joints stable so they can heal.
Best for: sprains in the ankle, support for the wrist, and keeping joints stable.
Pre-Wrap White Athletic Wrap
The thin, foam-like layer that goes under stiff tape is called white athletic wrap. It keeps your skin from getting irritated by the tape, stops blisters from forming, and makes taking off the tape much more comfortable. It also helps keep cold packs or cushioning in place.
Best for: Protecting skin under white tape for sports, keeping pads in place, and sensitive places.
Kinesiology Tape
This new kind of tape can extend up to 150% since it is elastic. Instead of limiting movement, it works with your muscles to ease discomfort, enhance blood flow, and help you heal.
Best for: strains, edema, and other problems when you need to move with help.
How to Use white tape for sports to Support Your Ankle?
Ankle sprains are the most common sports injury, and the right tape can make a big impact.
You will need white tape for sports, pre-wrap, and scissors.
In steps:
Apply pre-wrap by starting just above the ankle bone and wrapping down toward the foot. This keeps your skin safe.
Anchor strips: Put two pieces of stiff tape around the lower leg, right above the ankle.
Stirrups: It goes from the inside anchor, under the heel, and up to the outside anchor. Do it 2–3 times.
Heel locks: Use figure-eight patterns to hold the heel in place.
Finish: Rub repeatedly to adhere to the skin.
The tape should be snug, but not so tight that it makes you feel numb or tingly.
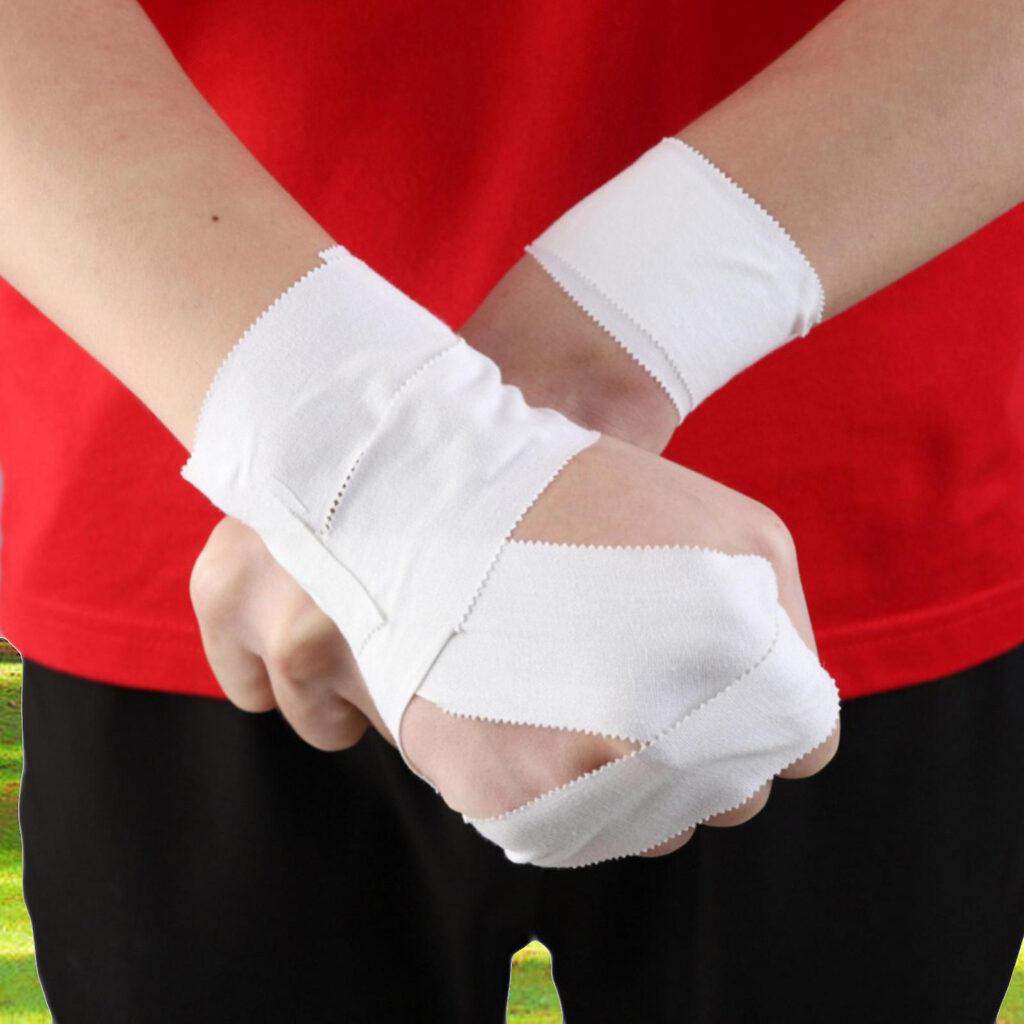
How to use white soccer wrist tape?
Soccer players often tape their wrists to keep them stable when they fall or to protect old injuries. Wrist support is very helpful for goalkeepers when they dive.
You’ll need white soccer wrist tape (1.5 inches wide and stiff) and pre-wrap.
Step by step:
Wrap a pre-wrap over your wrist to cover the region you’ll be taping.
Put anchor strips above and below the joint in the wrist.
From the hand anchor, run figure-eight strips over the wrist and to the forearm anchor.
Put circular strips on everything to hold it all together.
The idea is to keep the wrist from bending too much without making it absolutely still.
How to Use White Athletic Wrap to Keep Safe?
A white athletic wrap (pre-wrap) can be used for more than only protecting skin:
How to keep shin guards from slipping: Wrap them around your leg to keep them in place during play.
Holding ice packs: Wrap them around an injury to keep the cold therapy in place.
Covering blisters: Put them over bandages to keep them safe as you move around.
Taping sensitive areas: Use as a base layer for athletes who are allergic to tape
Pre-wrap sticks to itself, not your skin, so it’s great for quick applications and easy removal.
Things You Shouldn’t Do
Mistake 1: Not doing a pre-wrap
Putting white tape for sports directly on skin might cause irritation, especially if you do it a lot. For sensitive areas or frequent taping, always wear a white sports wrap underneath.
Mistake 2: Putting the tape on too tightly
If your fingers or toes feel numb, tingle, or change color, the tape is too tight. Take it off and put it back on with less stress.
Mistake 3: Using the wrong tape for the job
Elastic kinesiology tape is what you should use for muscular soreness, not white tape for sports.
How to Safely Take Off white tape for sports
Taking off tape the wrong way can hurt your skin. Do these things:
Soak the tape edges in baby oil or coconut oil.
Wait two to three minutes for the oil to soak in and loosen the glue.
Peel slowly: Pull the white tape for sports back over itself in the direction that your hair grows.
Clean up: Use soap and water to wash, then put on lotion.
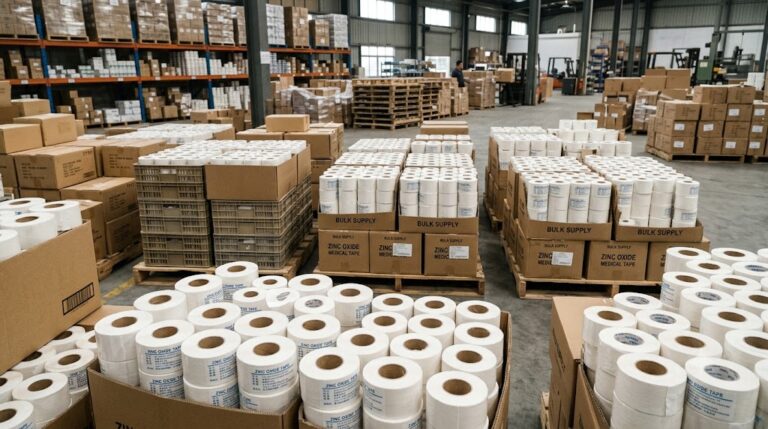
Why Should You Get Your white tape for sports from WEMADE?
Athletes and doctors around the world trust the high-quality white zinc oxide tape we make at WEMADE for sports.
We give teams, clinics, and stores wholesale prices and the ability to customize their orders. Get in touch with us today to find out more about our high-quality sports tape goods.