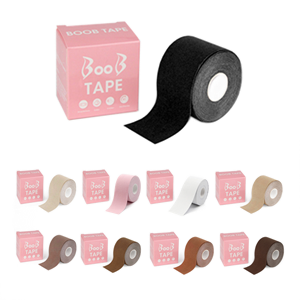
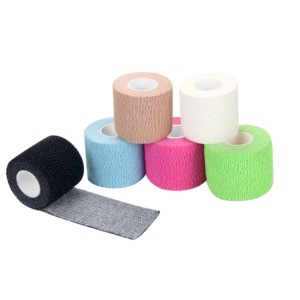
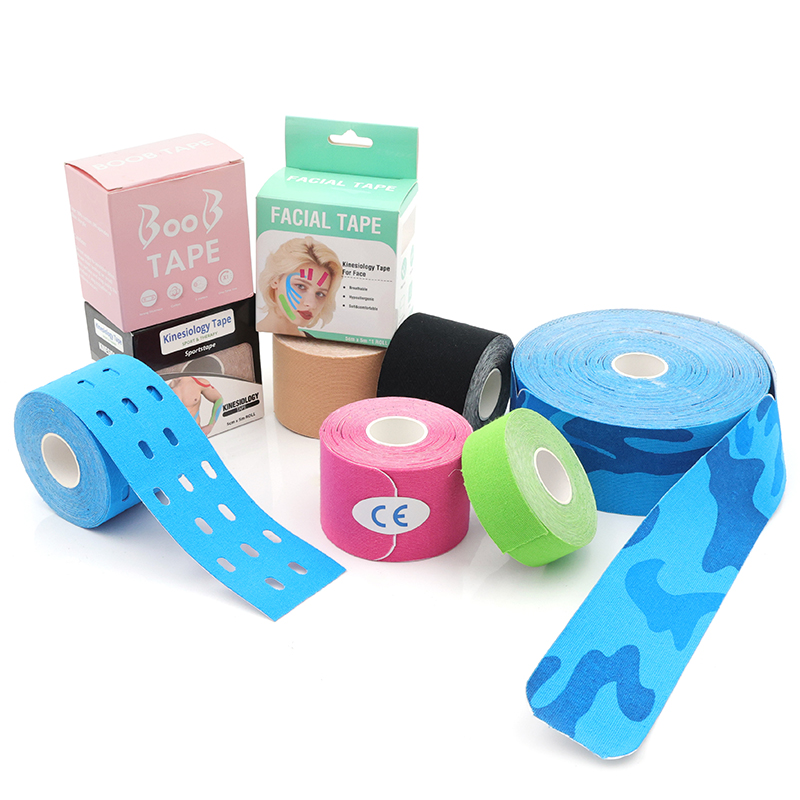
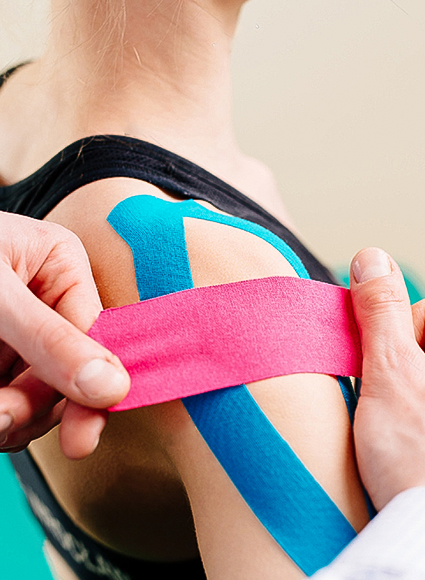
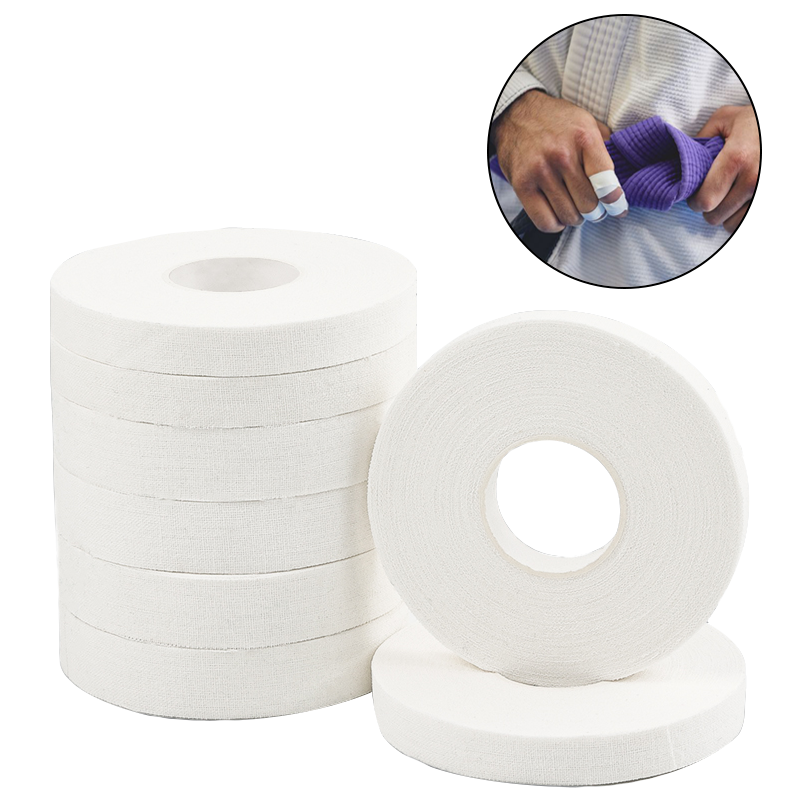
연약하고 민감한 피부를 가진 사람들을 보호하기 위해 피부와 스포츠 테이프 사이에 장벽을 제공합니다.
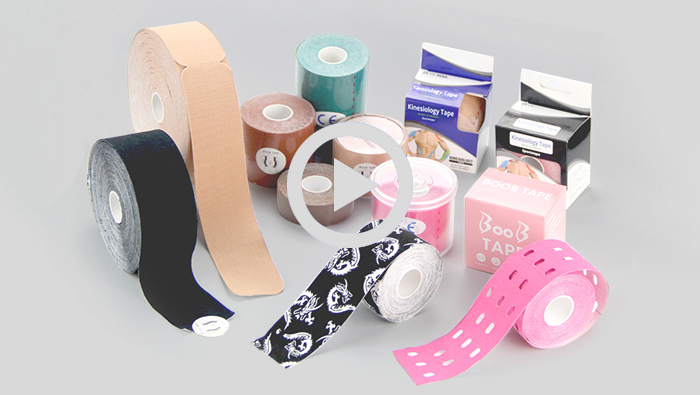
동영상 재생 정보 중국 운동 요법 테이프 제조 공장
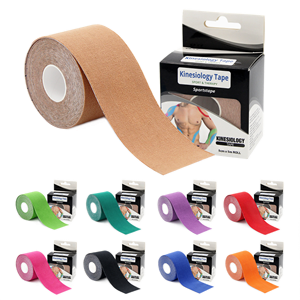
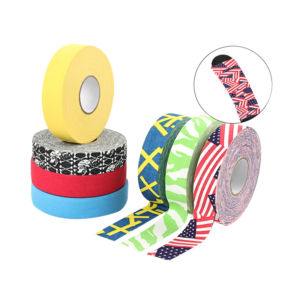
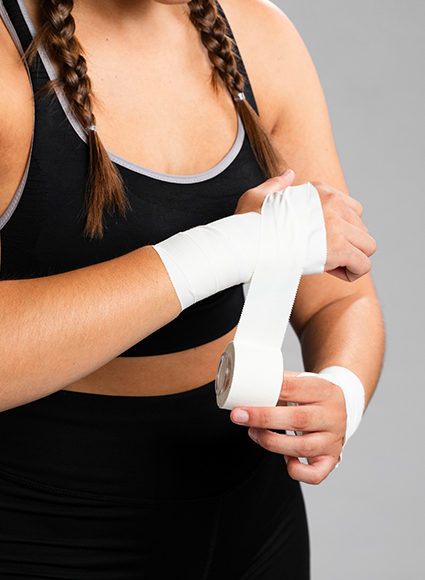
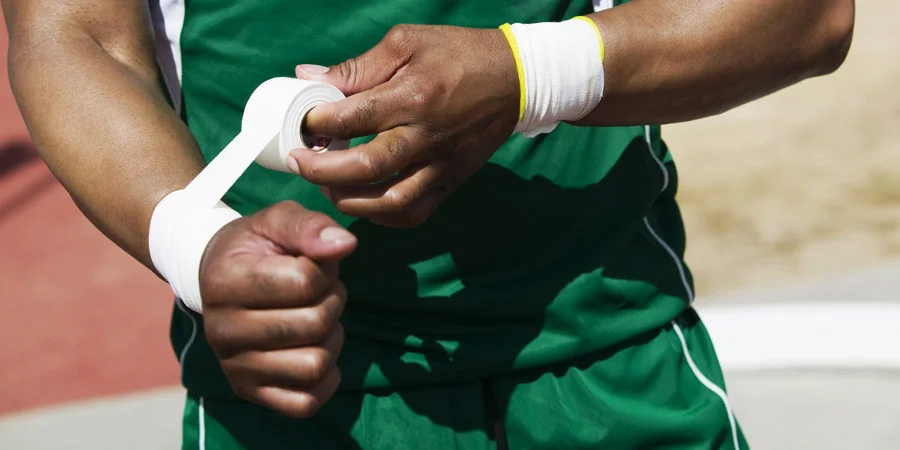
스포츠 안전을 위한 이상적인 테이프 수출업체
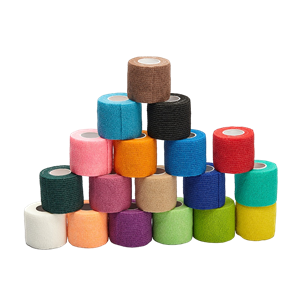
Wuxi Wemade Healthcare Products Co., Ltd는 10년 넘게 다양한 종류의 탄력 붕대, 스포츠 테이프 및 운동 요법 테이프를 생산해 왔으며 면적은 13000m² 이상입니다. 우리는 고객에게 OEM ODM 서비스를 제공하고 있습니다. 우리는 품질과 납기를 보장하기 위해 국내 최고의 생산 장비와 완벽한 품질 검사 부서를 보유하고 있습니다. 우리는 60개 이상의 국가에 수출했습니다. 위메이드는 중국 의료용 드레싱의 주요 제조 및 수출업체가 되었습니다.